
Adding supports is a technical skill for agood print. This is a good example to add suitable supports for a human model.
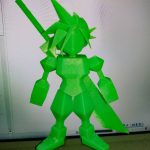
Here’s a view of whole model.
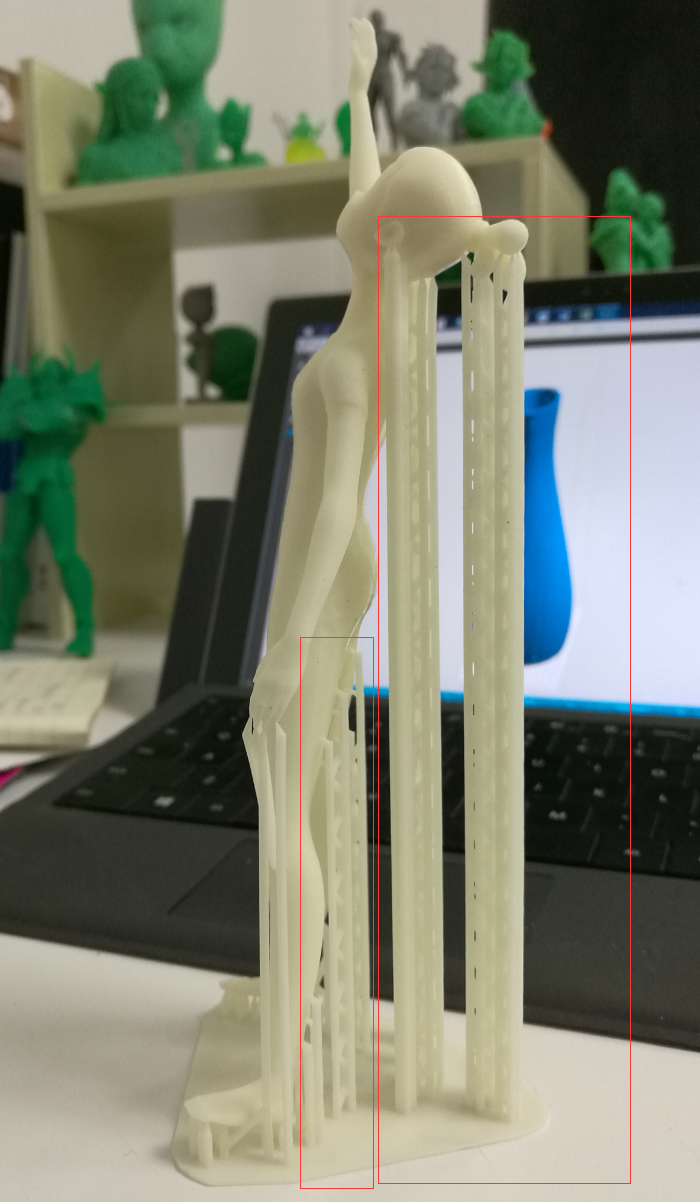
There are two good points for support adding:
1. Add the supports at backside of a human model. If you have experience, you would know that it is difficult to get flawless model when you remove supports. There always are some small pits at the contact area of supports. For a human model, the frontside is the most attractive part when you see it. So when you design supports, you should try to keep perfect looking on frontside and add support at backside.
2. When there need to be add tall supports, it’s better to add several connected support to strengthen them. The single long support is not stable and easy to bend.
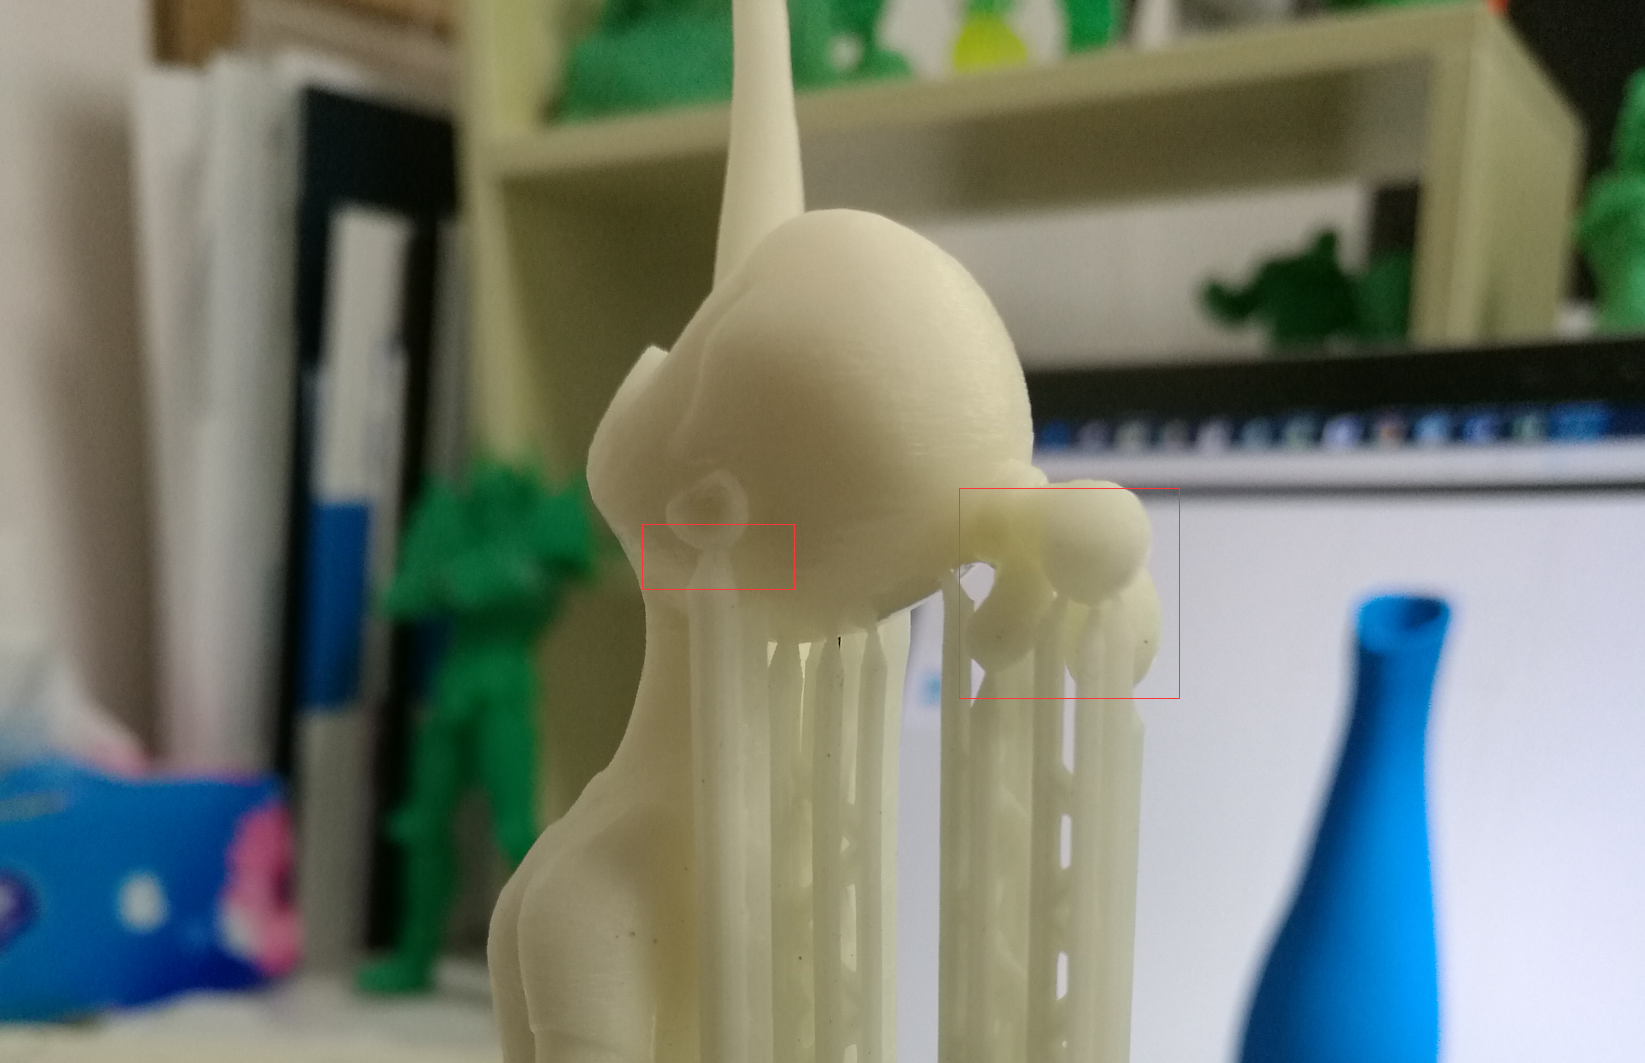
For the ears and hair tail, because they hang in the air, you need to add supports to make them can be cured at the first layer.

The fingers of left hand also hang in the air. You can add support for each finger. For some fingers, you also can put the opposite end of support to the left leg of human model. By this way, it can avoid long supports.

There also are a lot of support added at the backside of legs. They can increase the adhesive strength between model and support to avoid falling failure.


