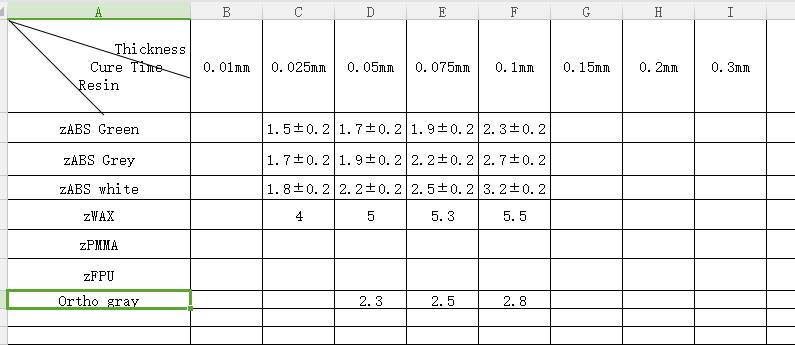
Uniz please make the settings for your different resins on your webpage available.
Additional for your slicer make a file location avilable where your slicer grabs the settings so that the user just download the new settings locally to that location.
- Home
- Ideas & Suggestions
- Settings for uniz Resins available on the Uniz Web Page
Settings for uniz Resins available on the Uniz Web Page
this is the base guys settings for your resins object and advanced settigns motor speed, lift part angle and so on this is sorry to say your job .you can build the best printer of the world without resin and object settings its just a peace of metal and plastic. no info about cross reaction about different abs colors or other resins caused by residual in the pump.
- Liked by
I double all the above comments regarding resin settings. Just when I thought i finaly figured out zABS Green, tried to switch to Grey and haven’t had a succesfull print yet. Please someone make an official spreadsheet about all Uniz resins and post it here. Maybe a hint about support thickness and point size too…
- Liked by
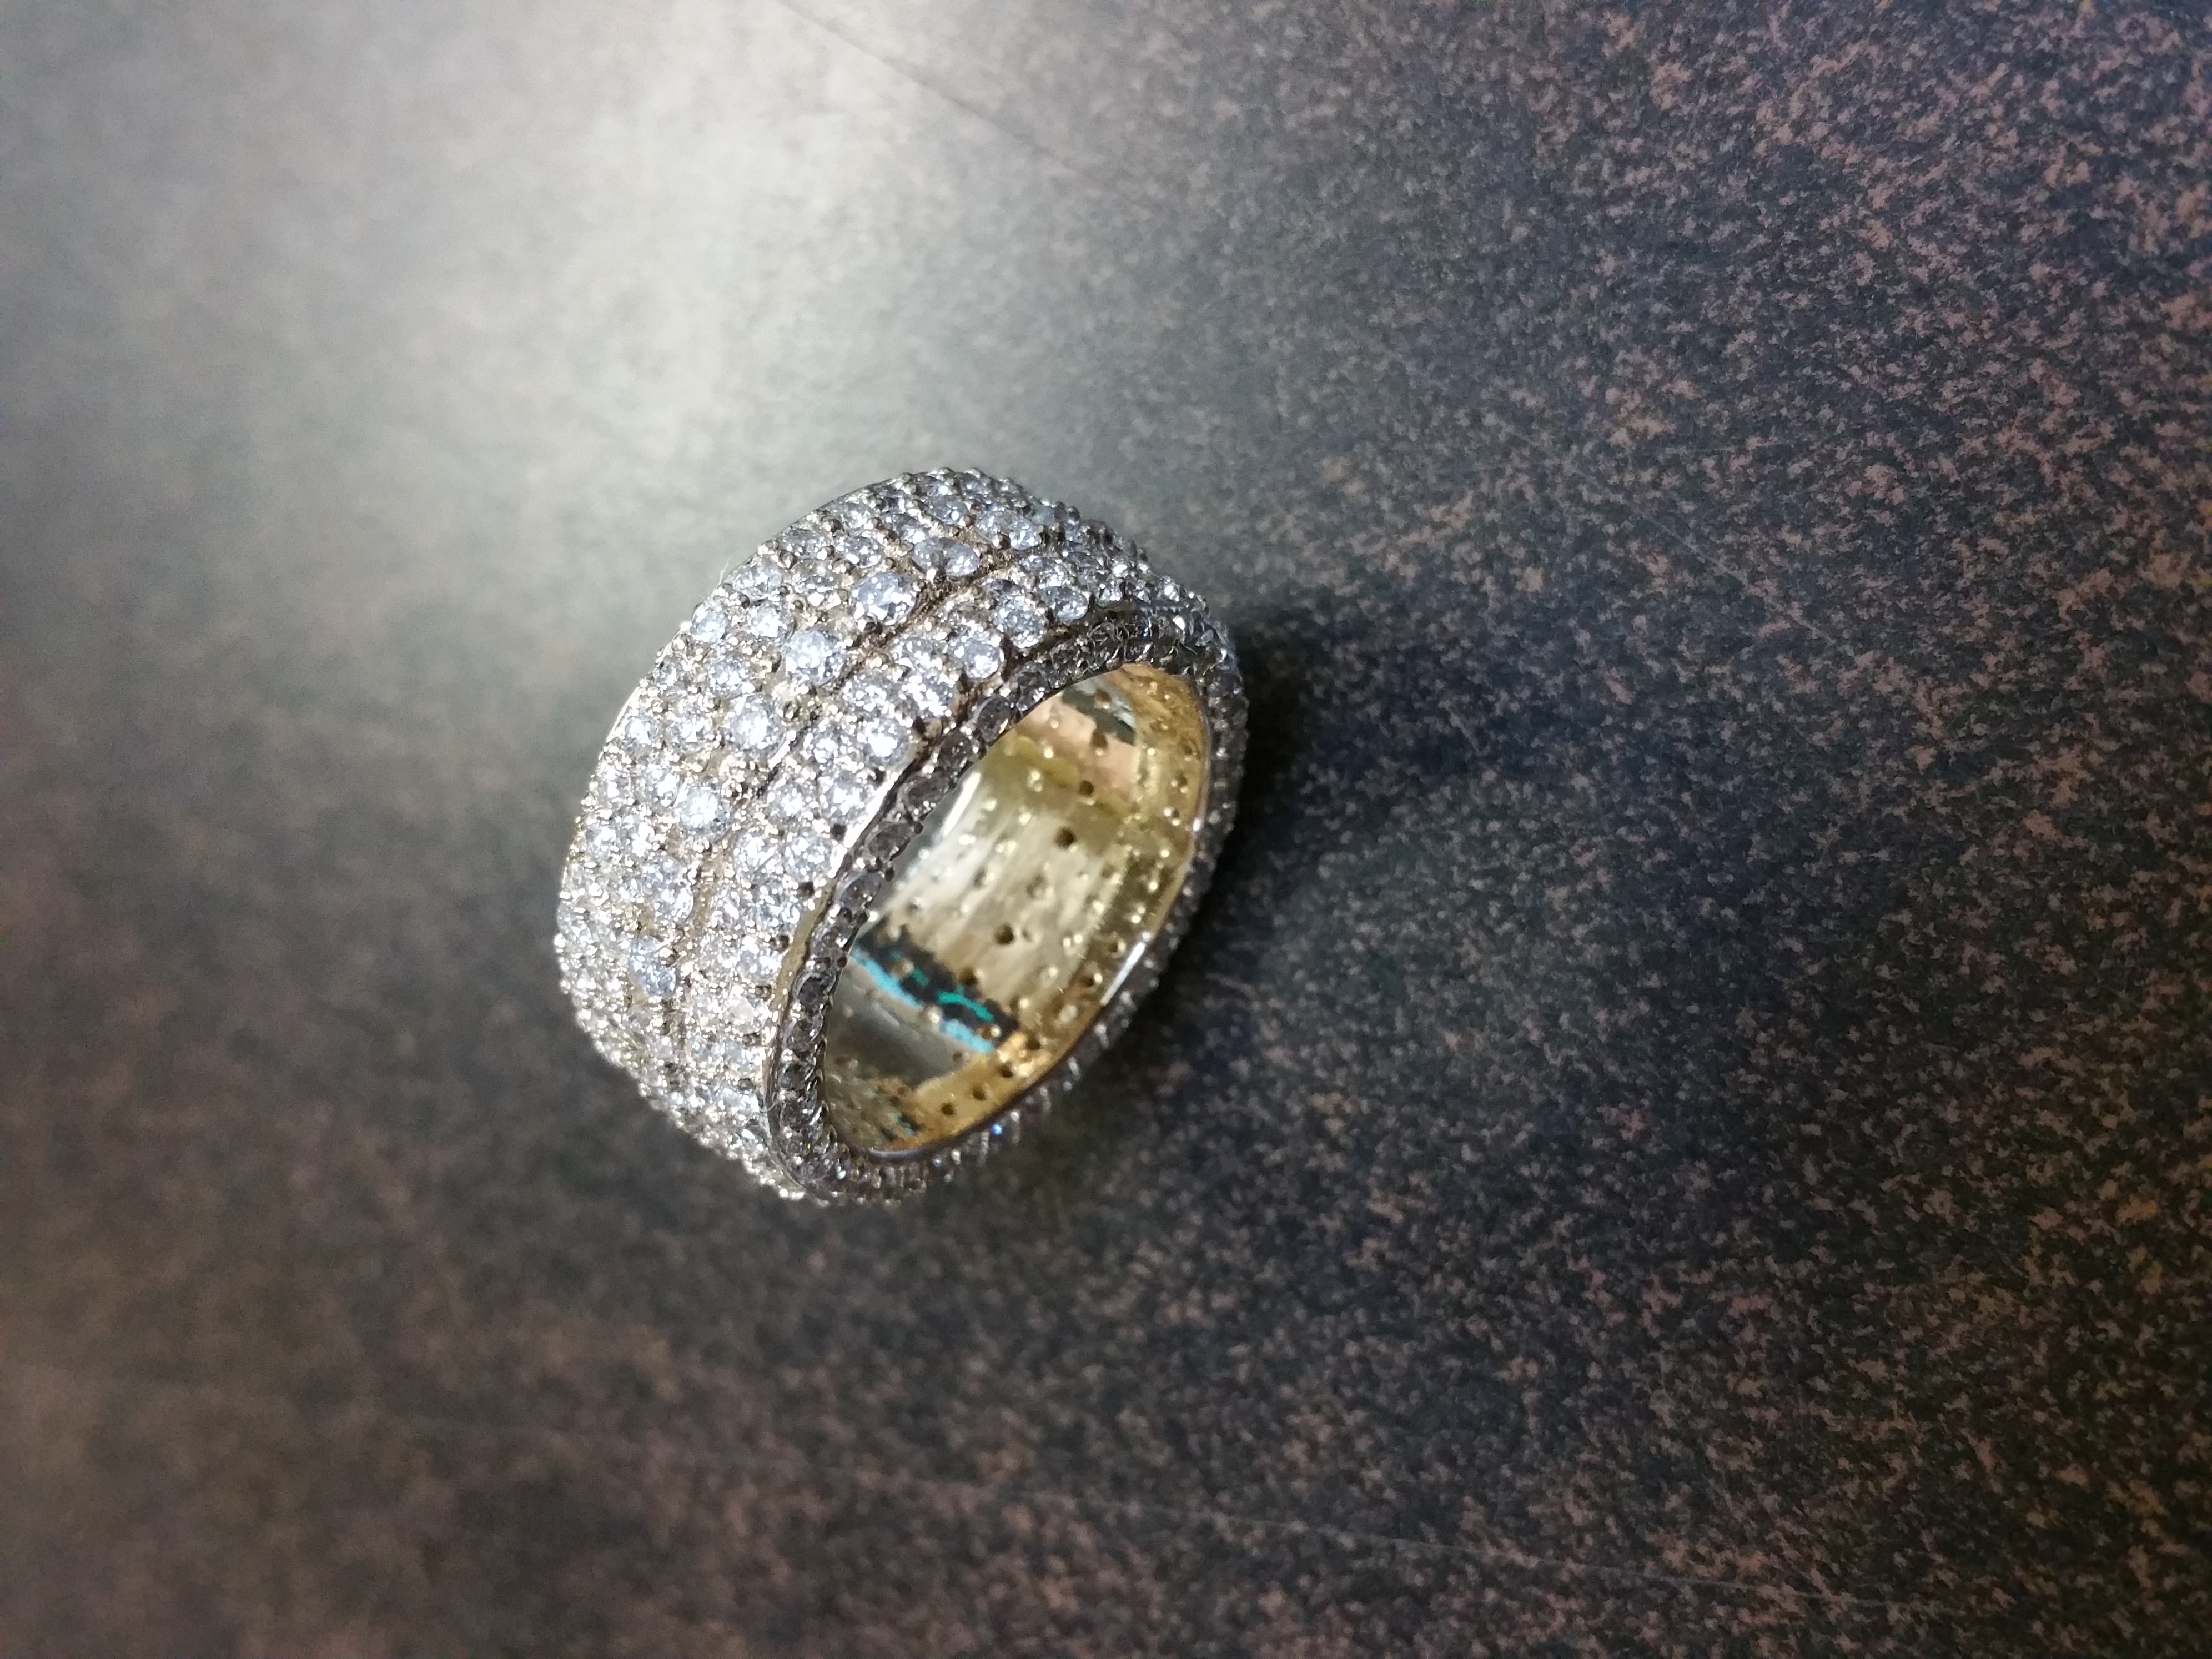
I could probably give you better data on zWax setting because that’s the only resin I use for I am in jewelry industry.
- Liked by
That’s awesome to hear, Uniz Support. It’ll save a lot of us some headache if there’s a sheet to consult with. I hope that happens soon!
- Liked by
zWax Exposure Time must be doubled as much as the suggested numbers on this diagram.
For me, I even do almost 3times the number on this table to make sure it yields nice and solid outcome without much distortion. It takes about 3hours to print a hight of a ring to be able to yield high-resolution smooth casting.
- Liked by

By the way, What is the Wall Thickness of Hollowing and can it be thinner than 1mm?
Higher exposure time will make thicker print with zWax, so you have to consider it from the drawing board to correctly calculate the casted metal weight.
- Liked by
Login or Join
You can also sign in by :


