UNIZ-MAX Drawing Robot production tutorial
UNIZ-MAX Drawing Robot
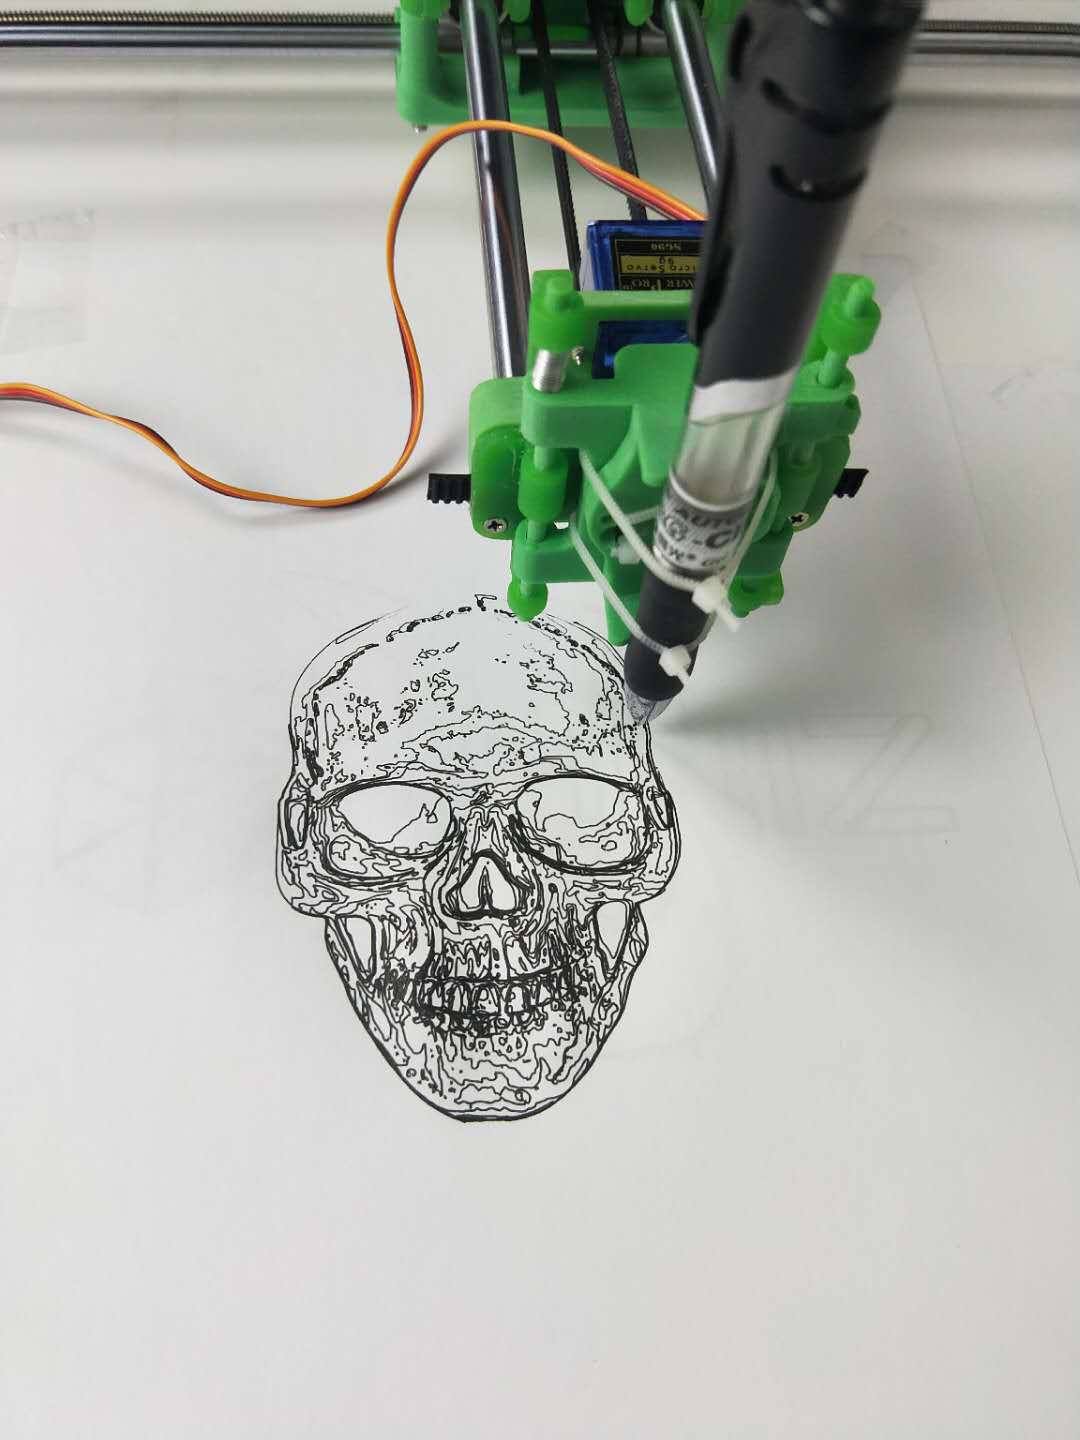
UNIZ-MAX could write or draw anything on the plane with pen, pencil, and other writing instruments. It is accurate, manufactural, and its specialized design-the drawing device could stretch out of its body, achieves that it can draw on larger area than robot’s.
You can sign your name, write a letter or do all handwritten tasks with a real pen by controlling UNIZ-MAX (but not through Inkjet or Laser Printers) in a more smooth and effective way.
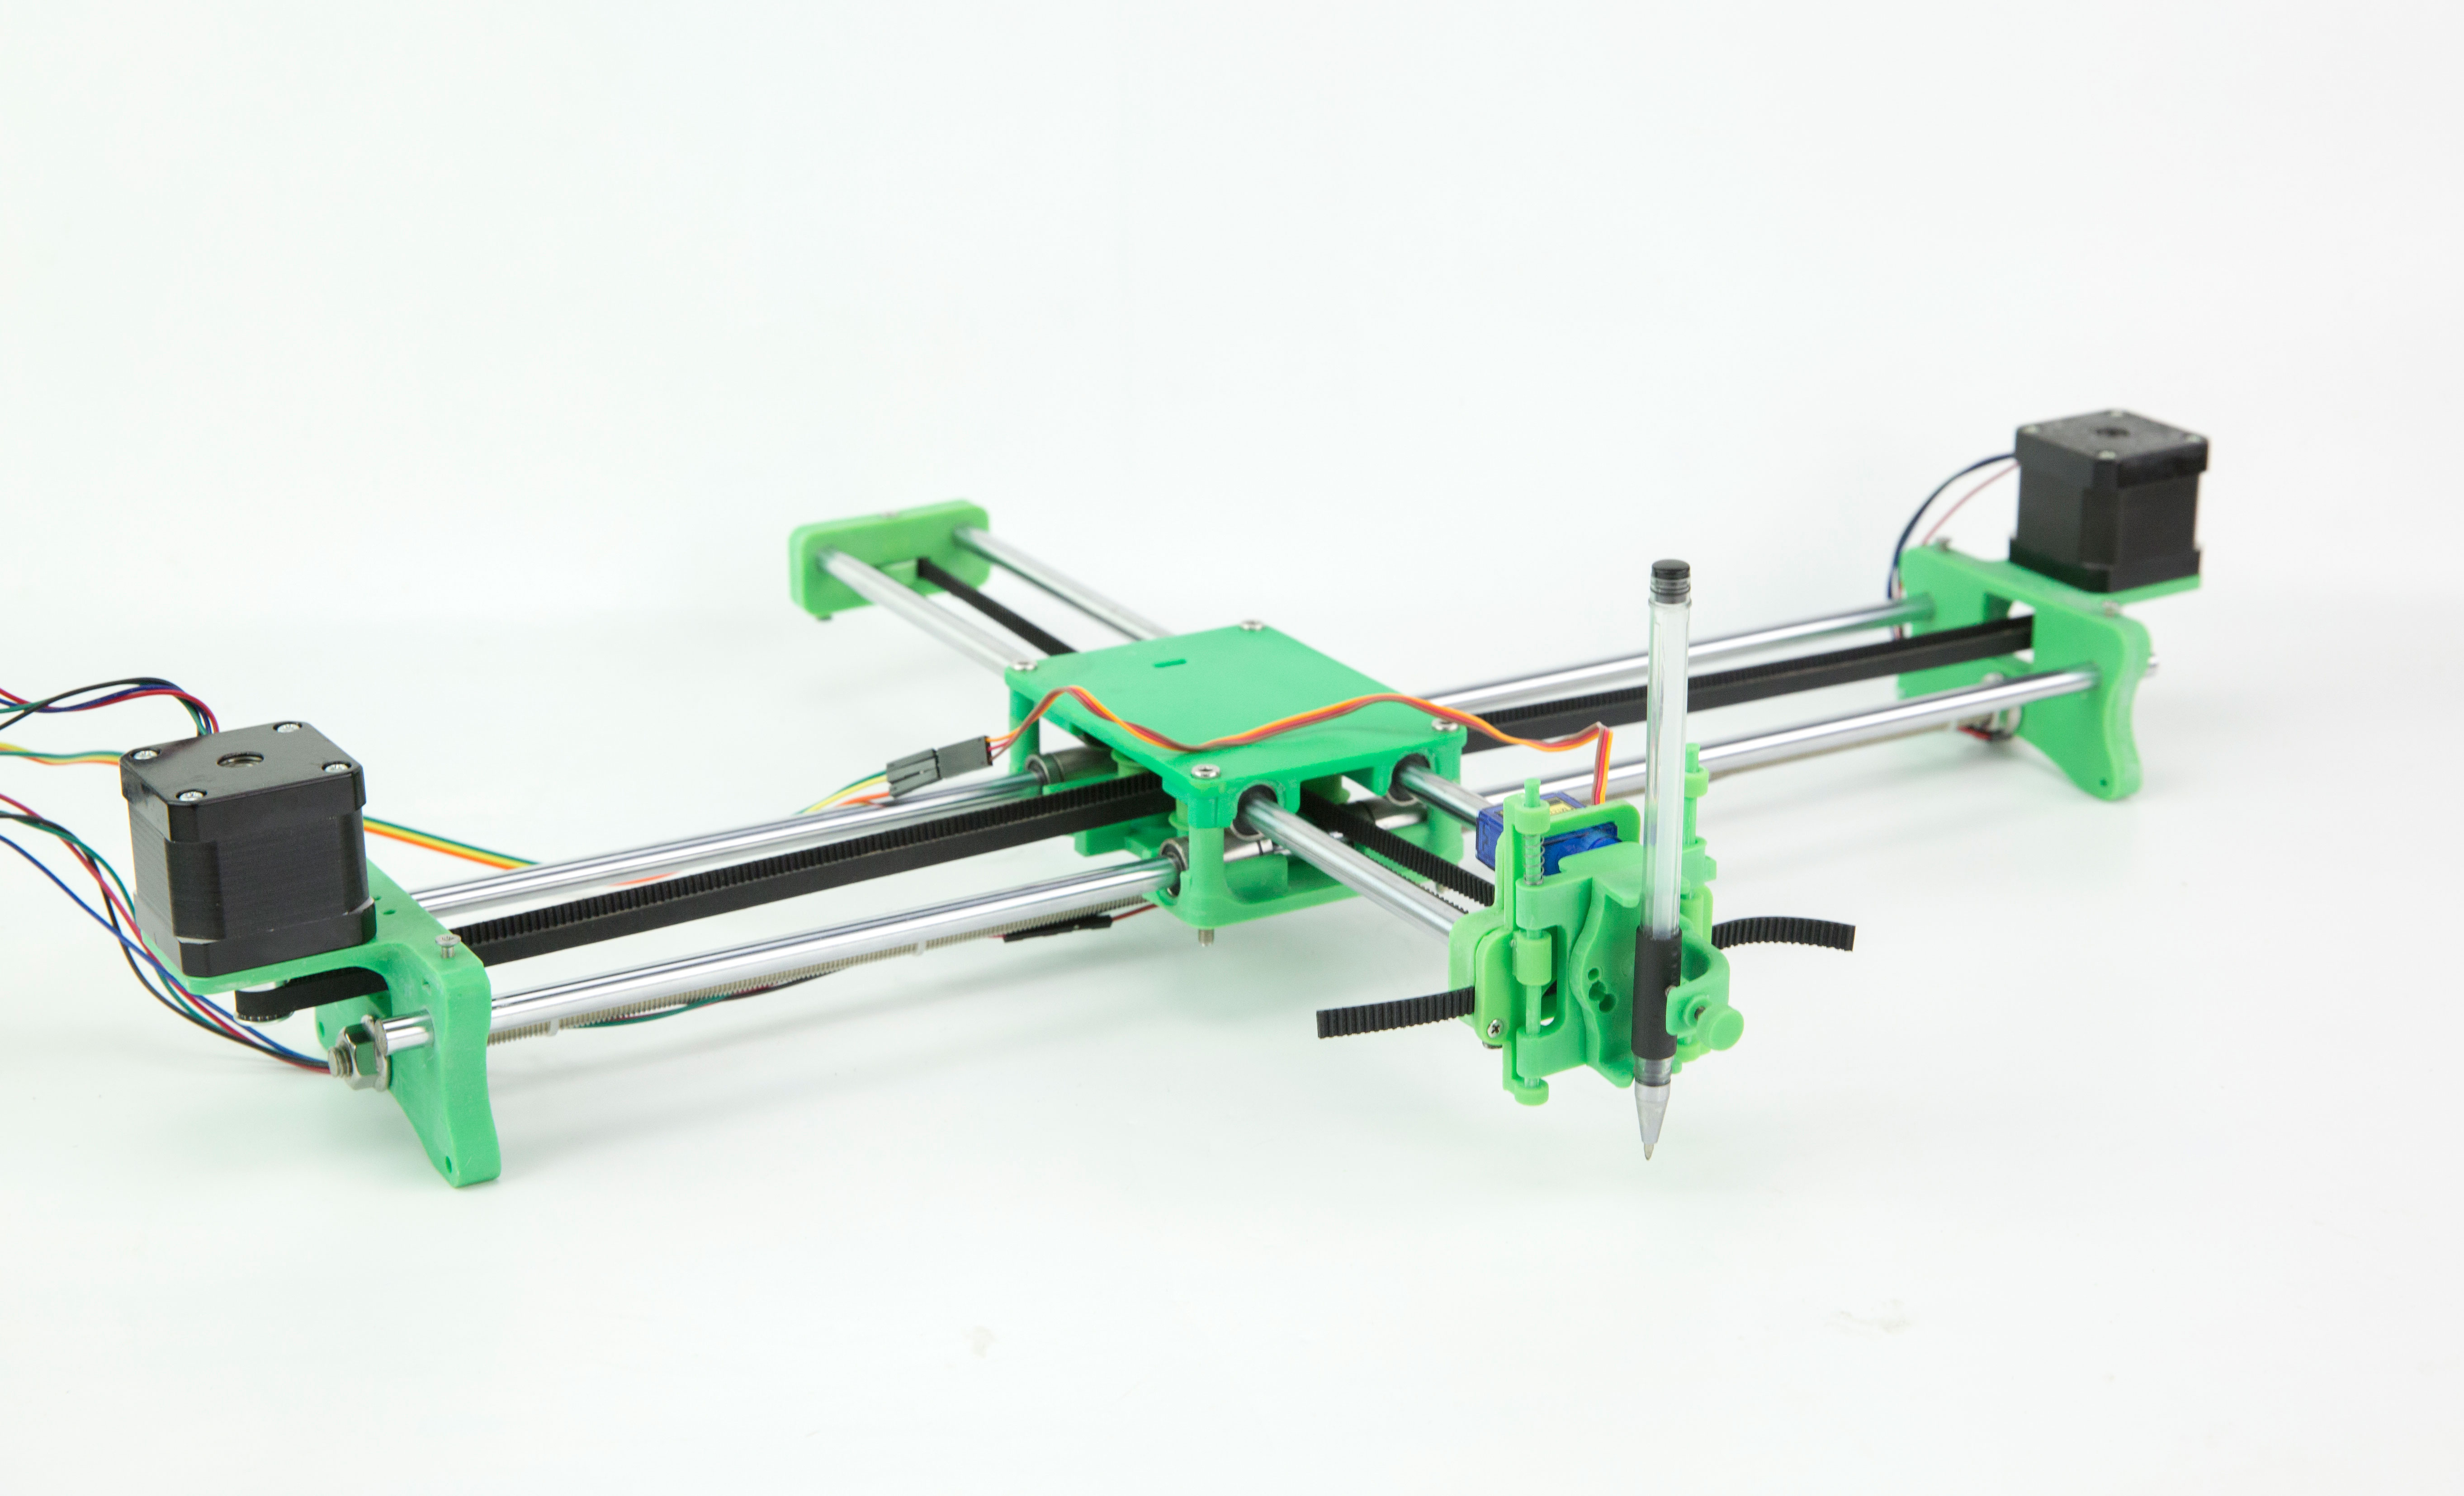
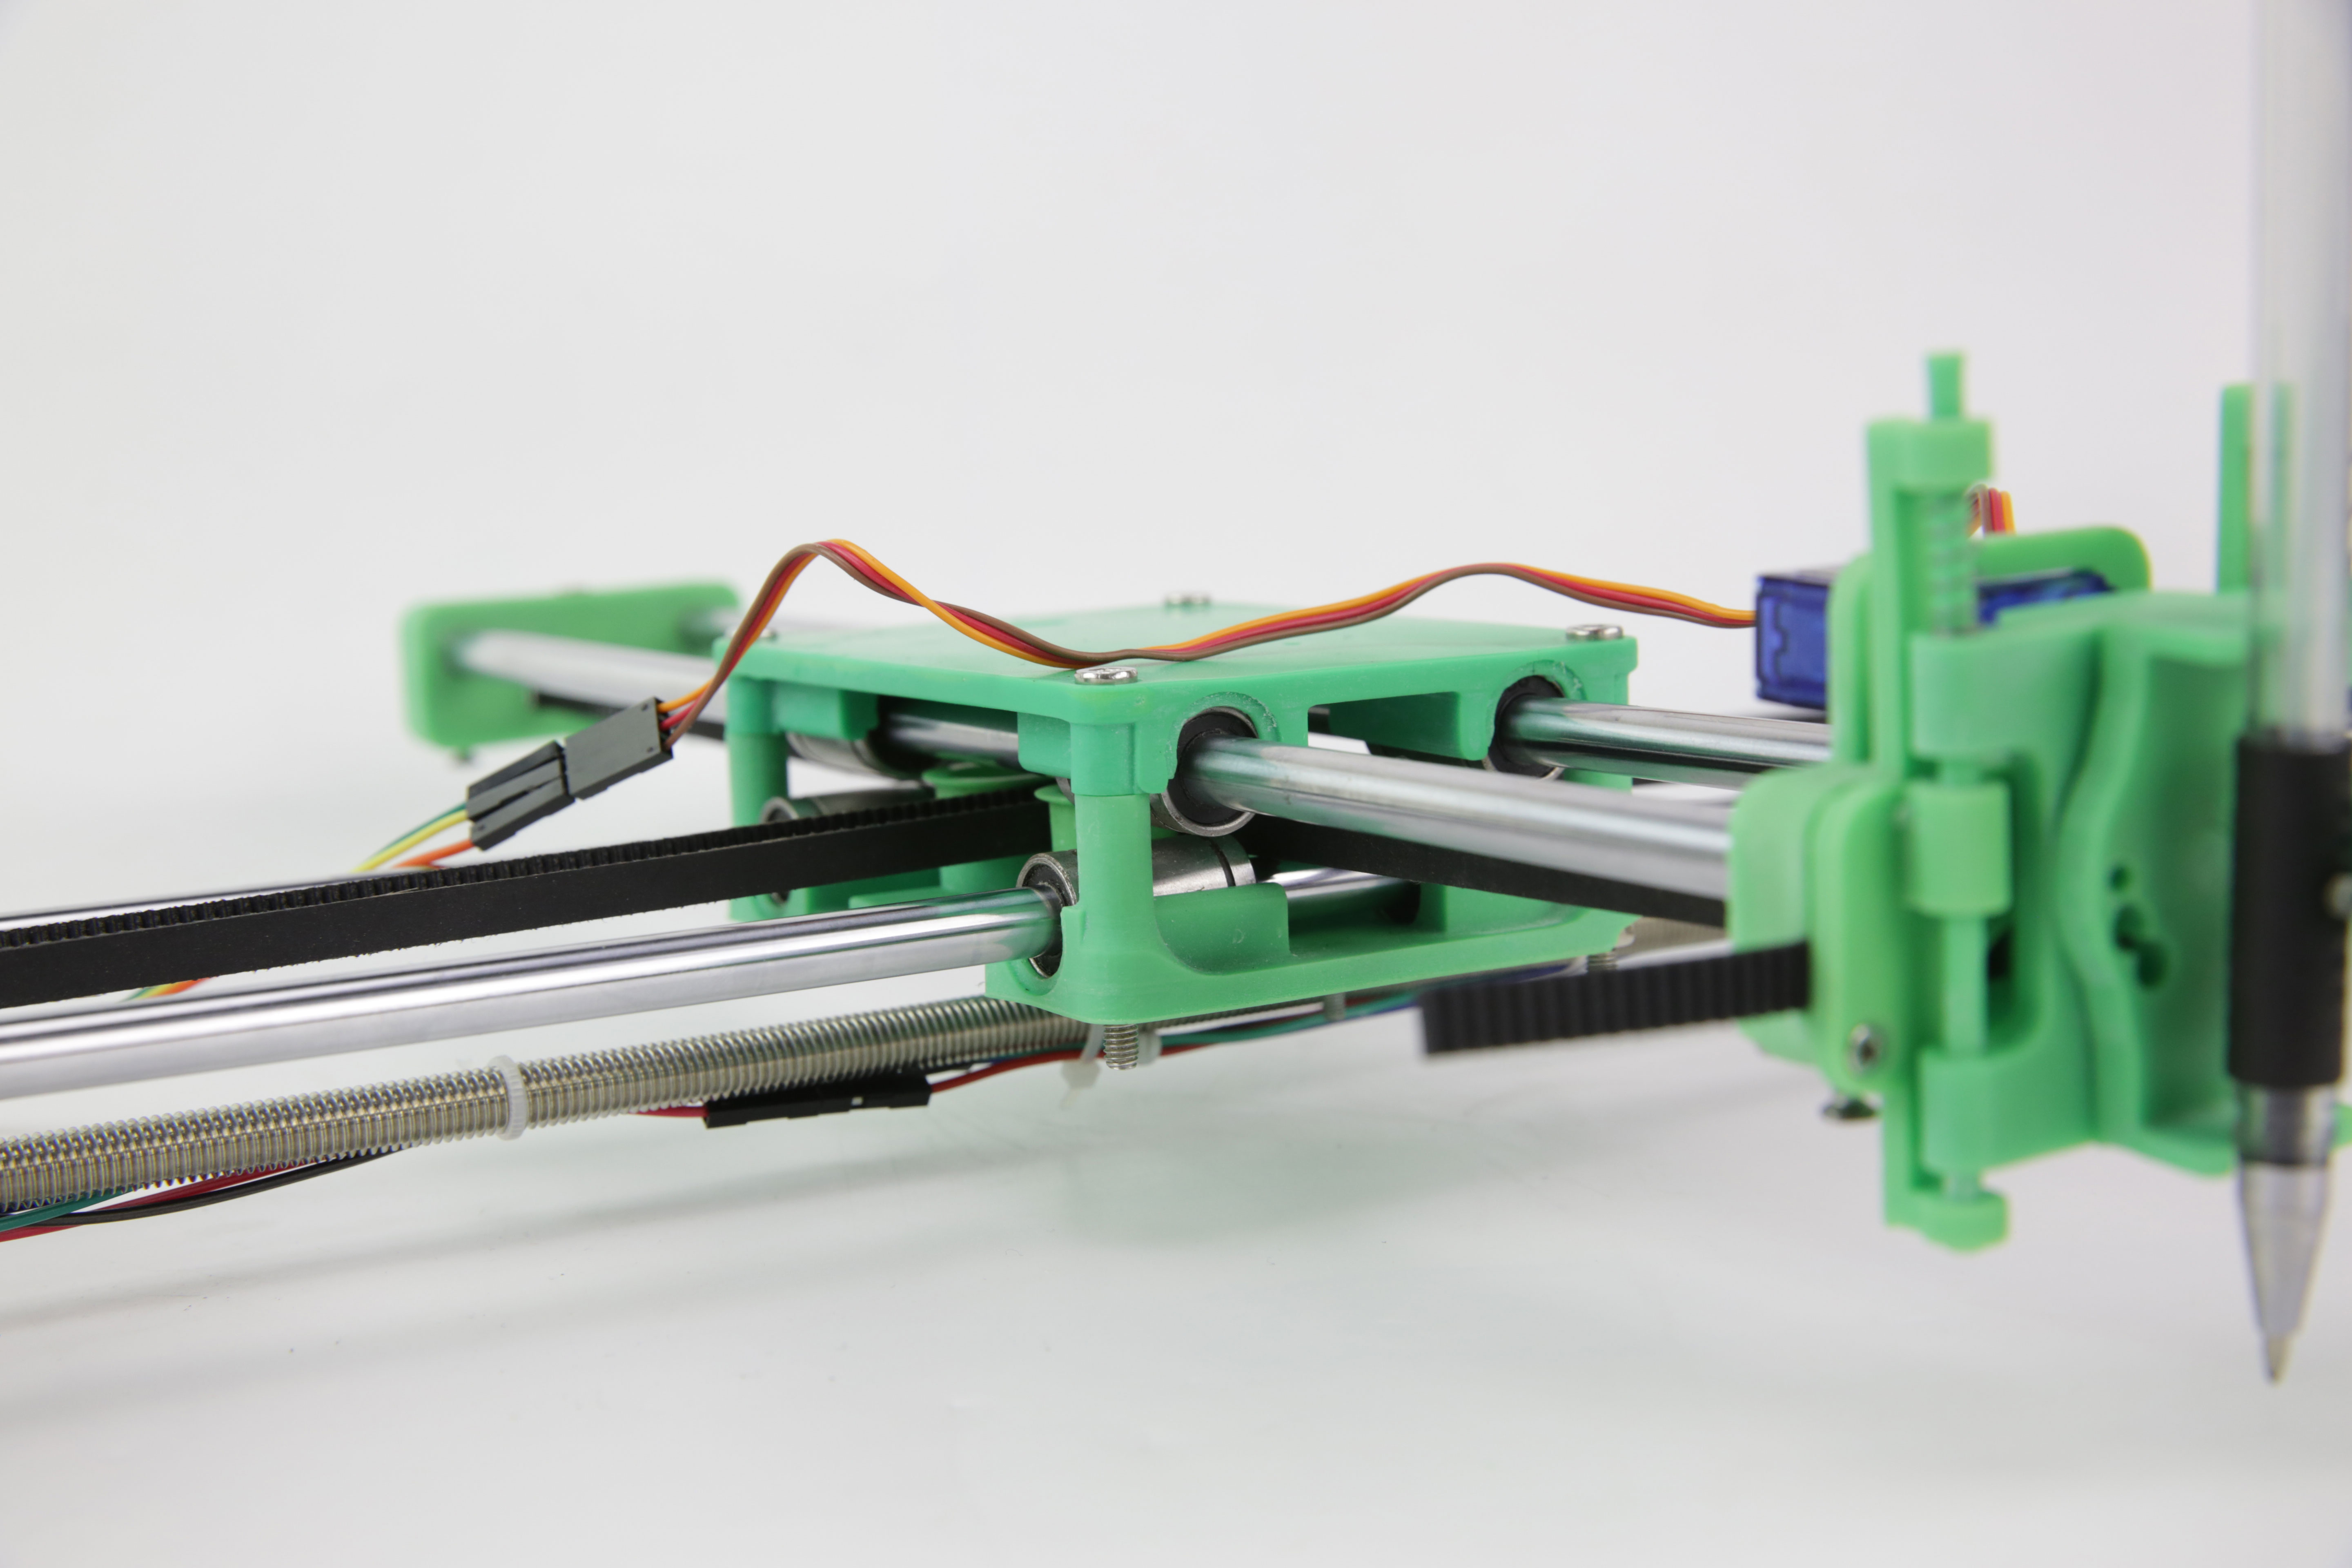
- Collecting modules
1.1 Parts acquired through 3D printing
Download the Drawing Robot modules from the thingiverse website. Some of the modules may need to be ajdusted.


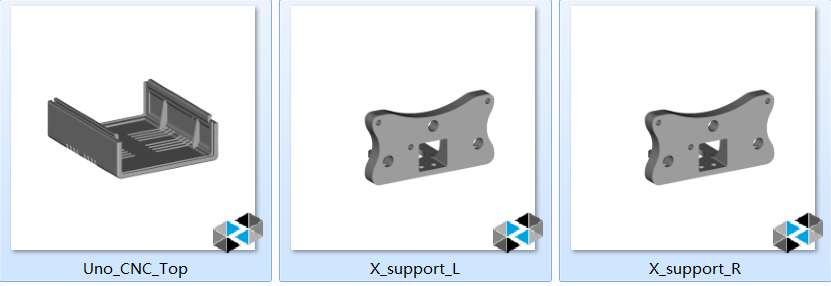
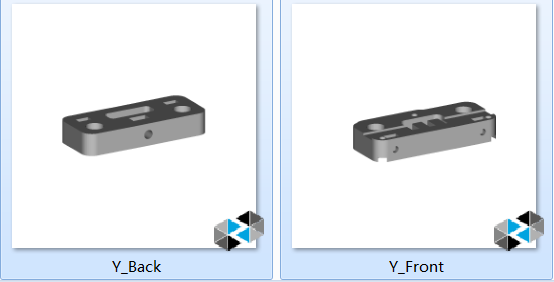
1.2 Parts needed from other sources
Buy Motors, column catheter, linear moving bearing, Z-axis spring, small bearing, screws, nuts, etc. from local hardware shop.
- Making printing settings.
Load Module into UNIZ Desktop software. Configure printing settings on it.

Import various components on the platform to save printing time.
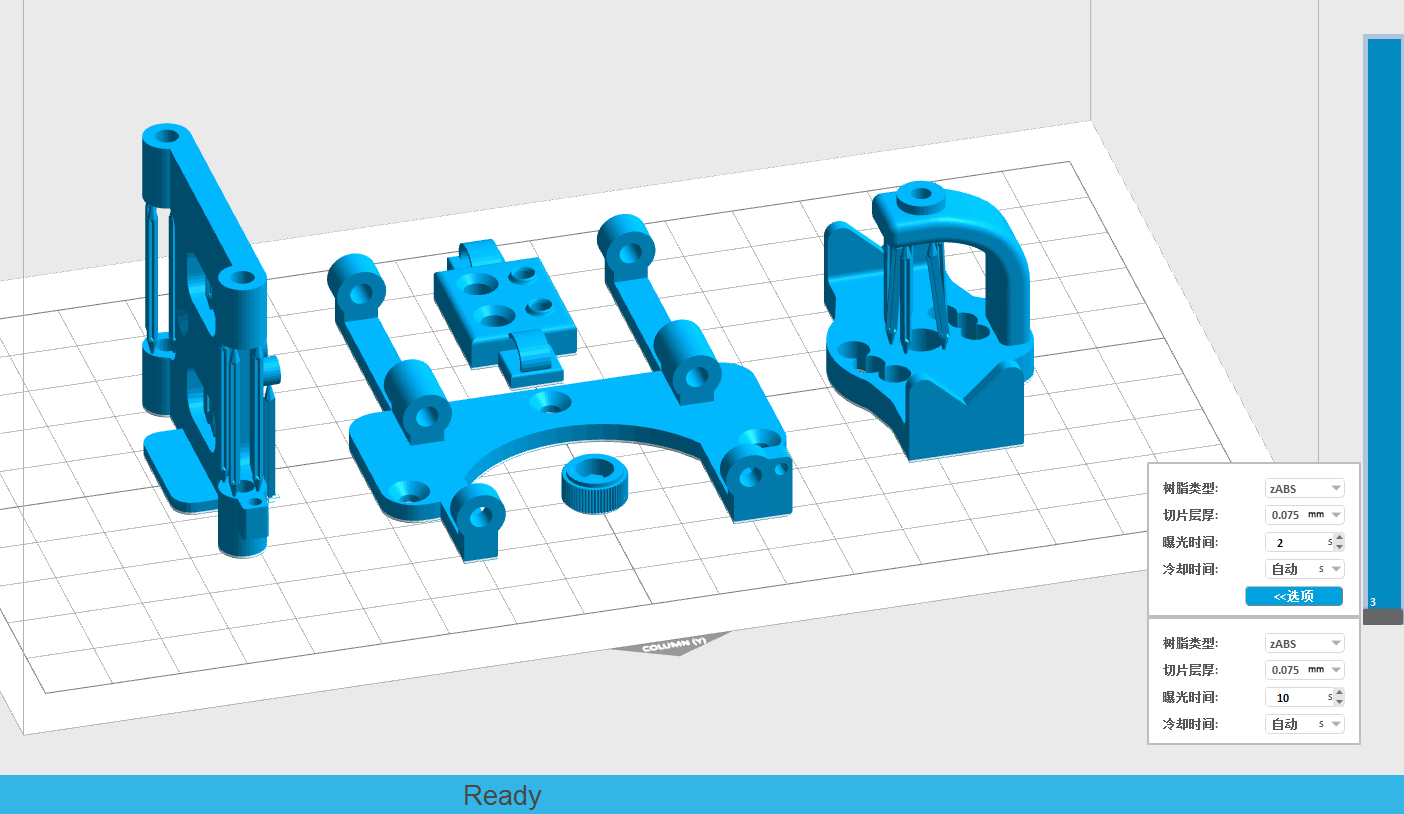
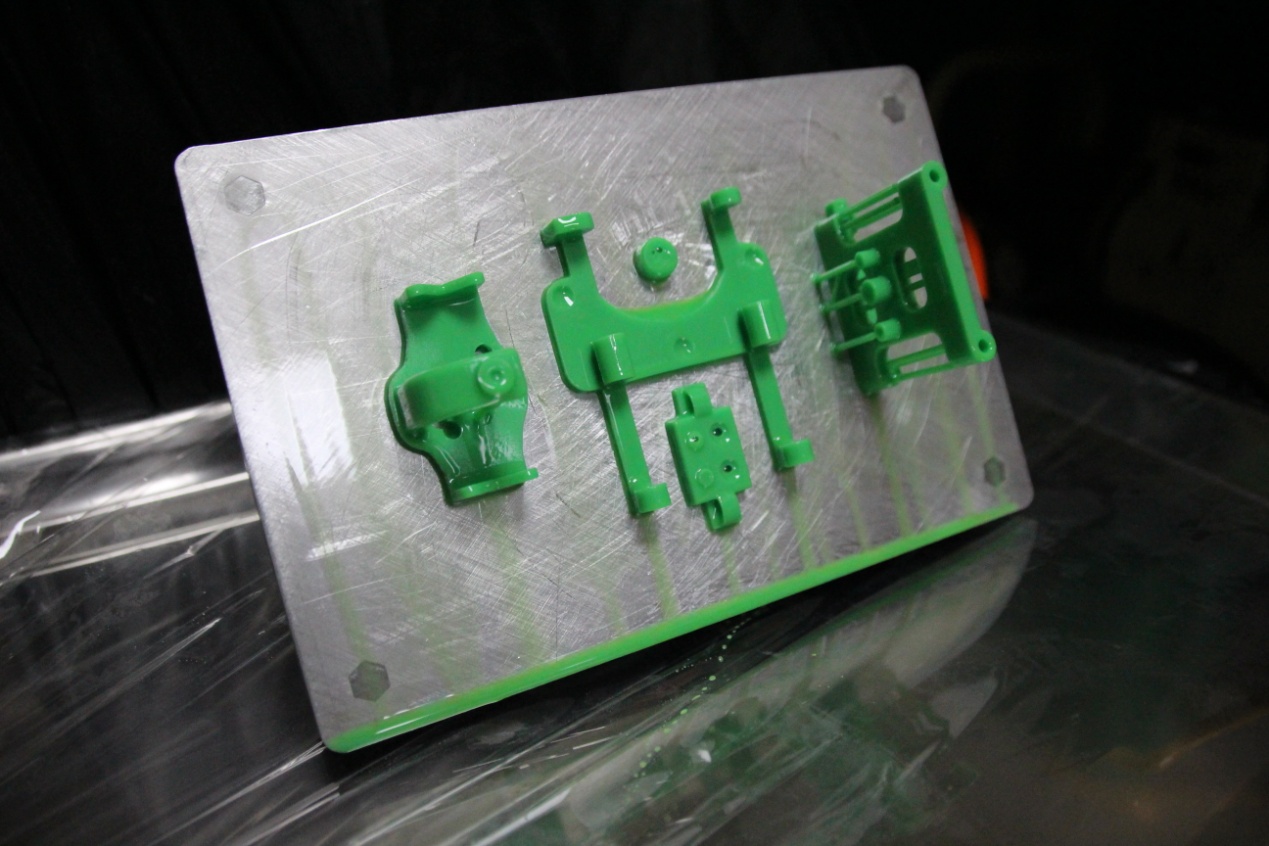
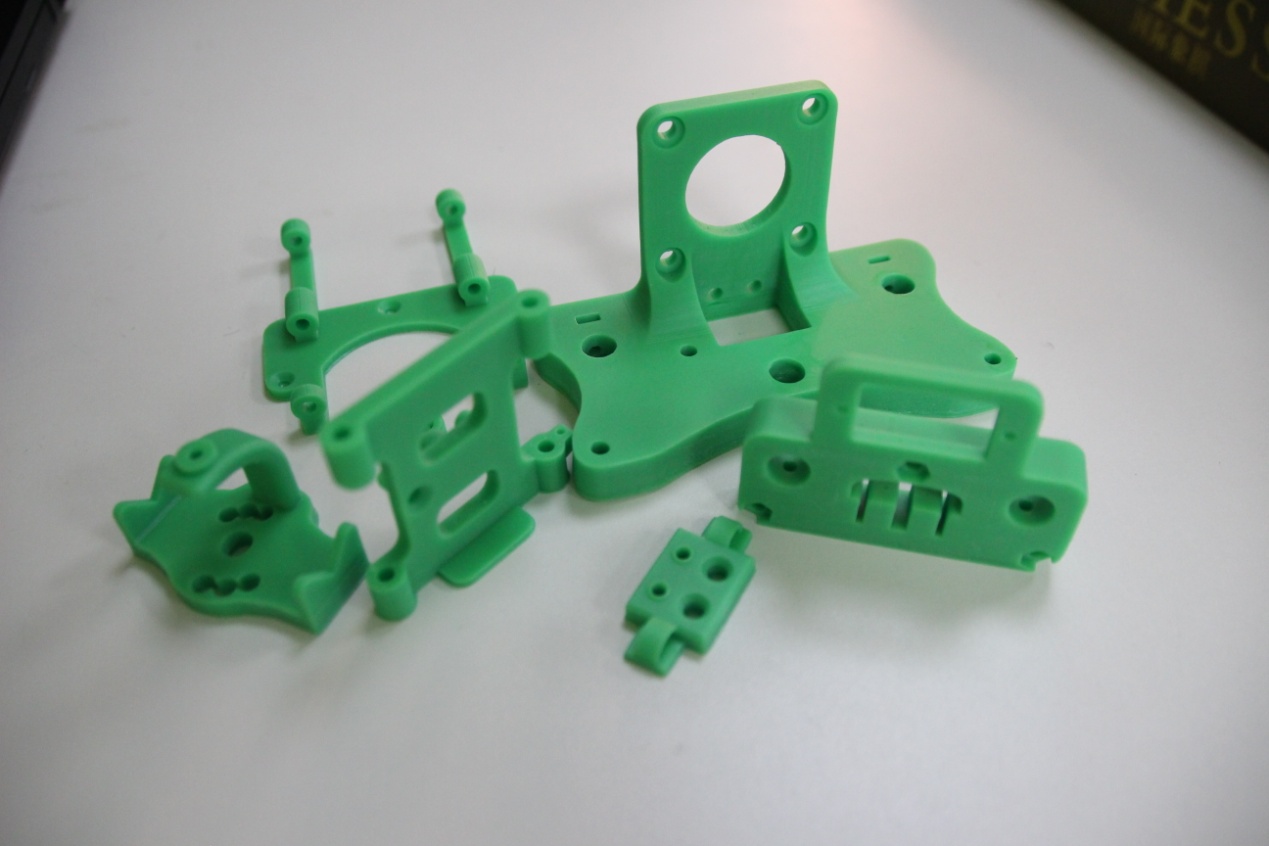
- Print modules
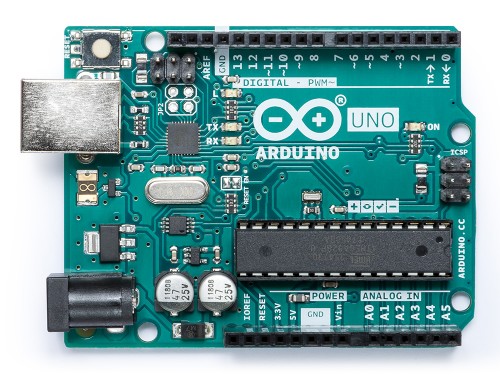
- Preparing Circuit board
Circuit board
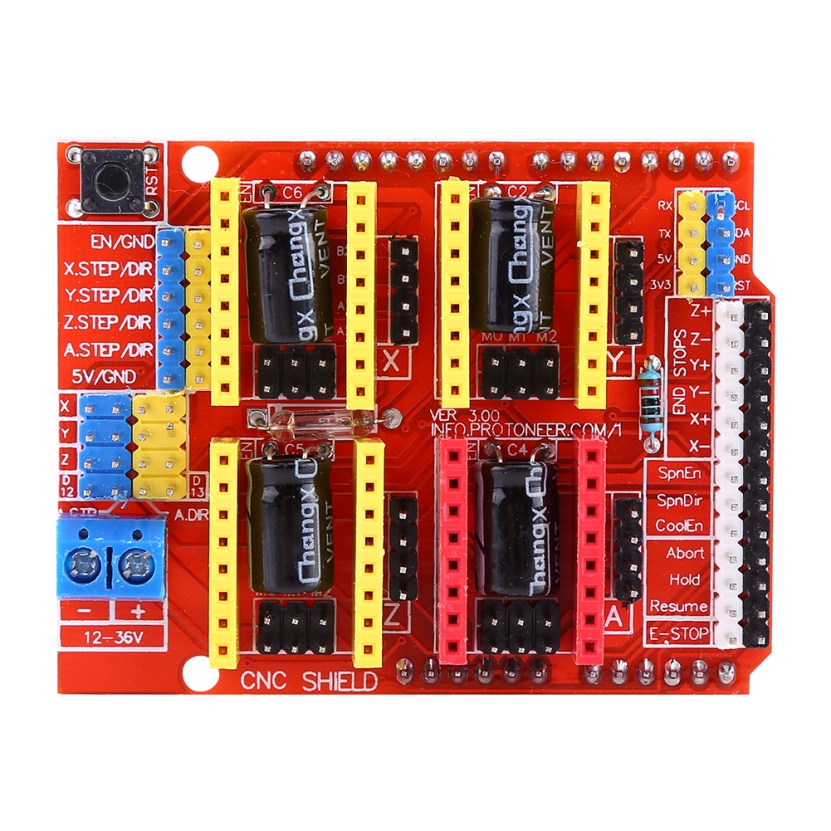
- Installing
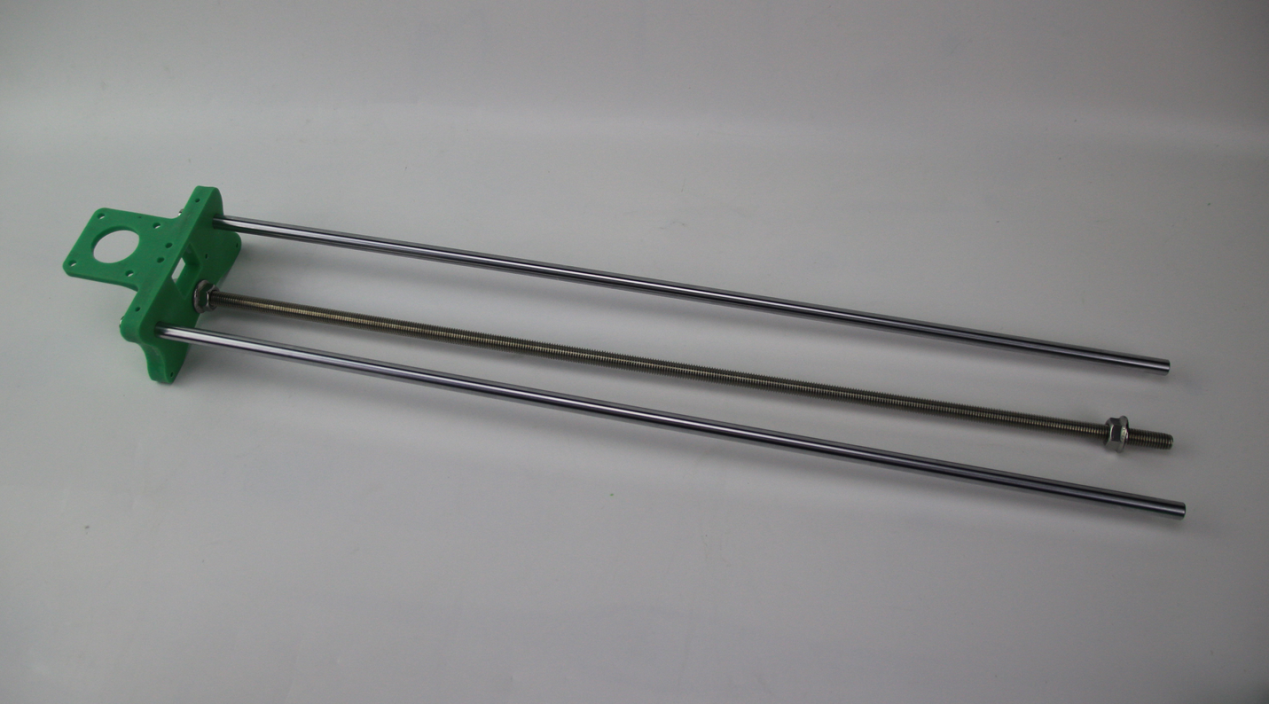
Install the x-axis slider and screw. Use nuts to fix the supports in place.
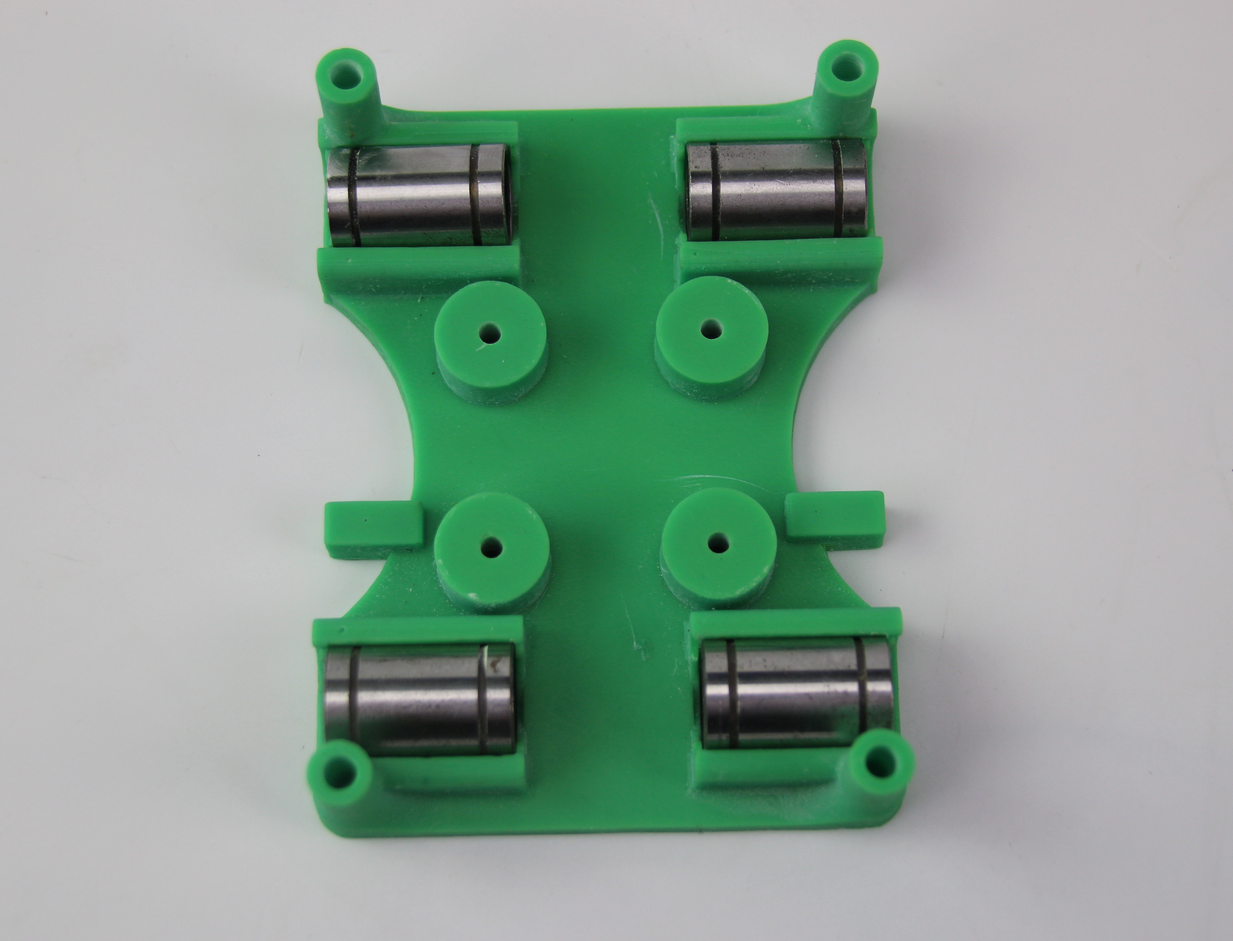
Install the linear-moving bearings.
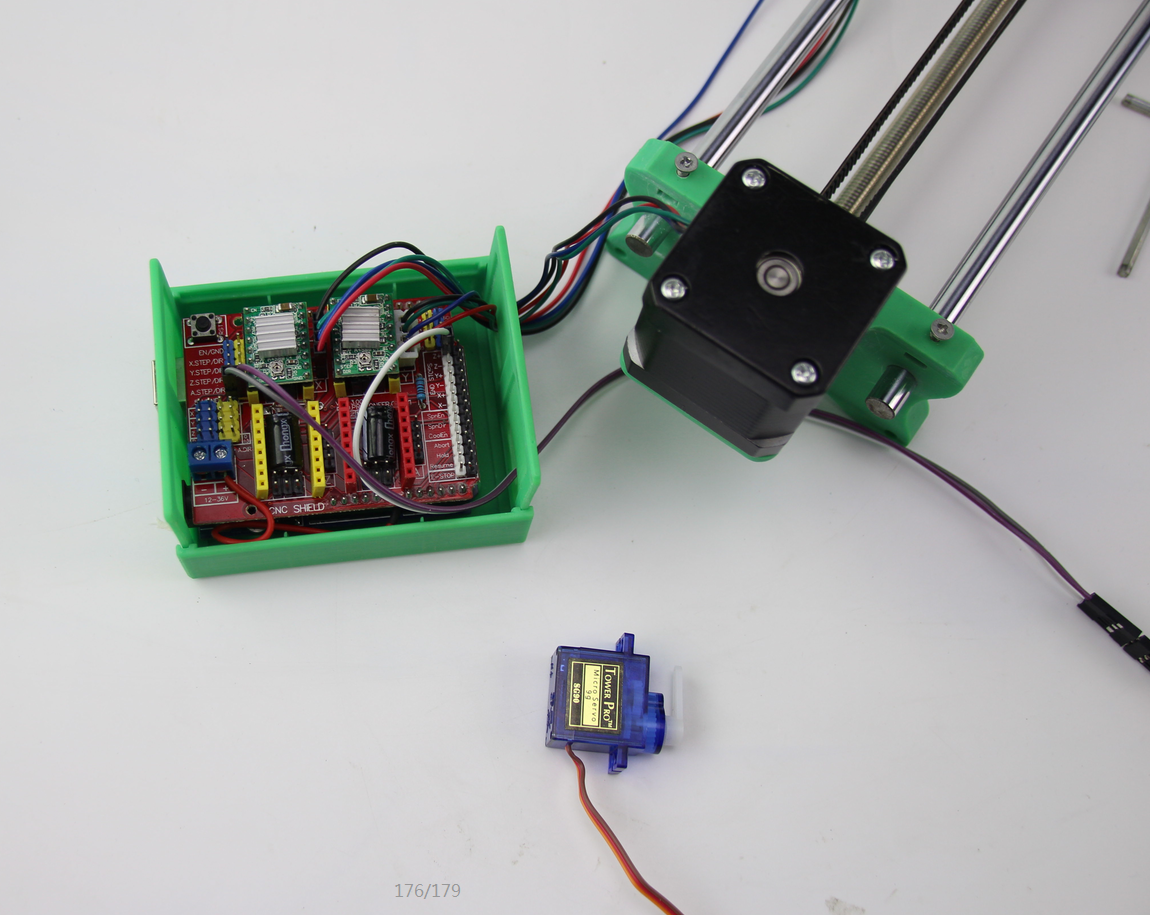
Install the stepper motors on the supports at both ends. The x-axis is now completed.

Install the timing belt as follows:

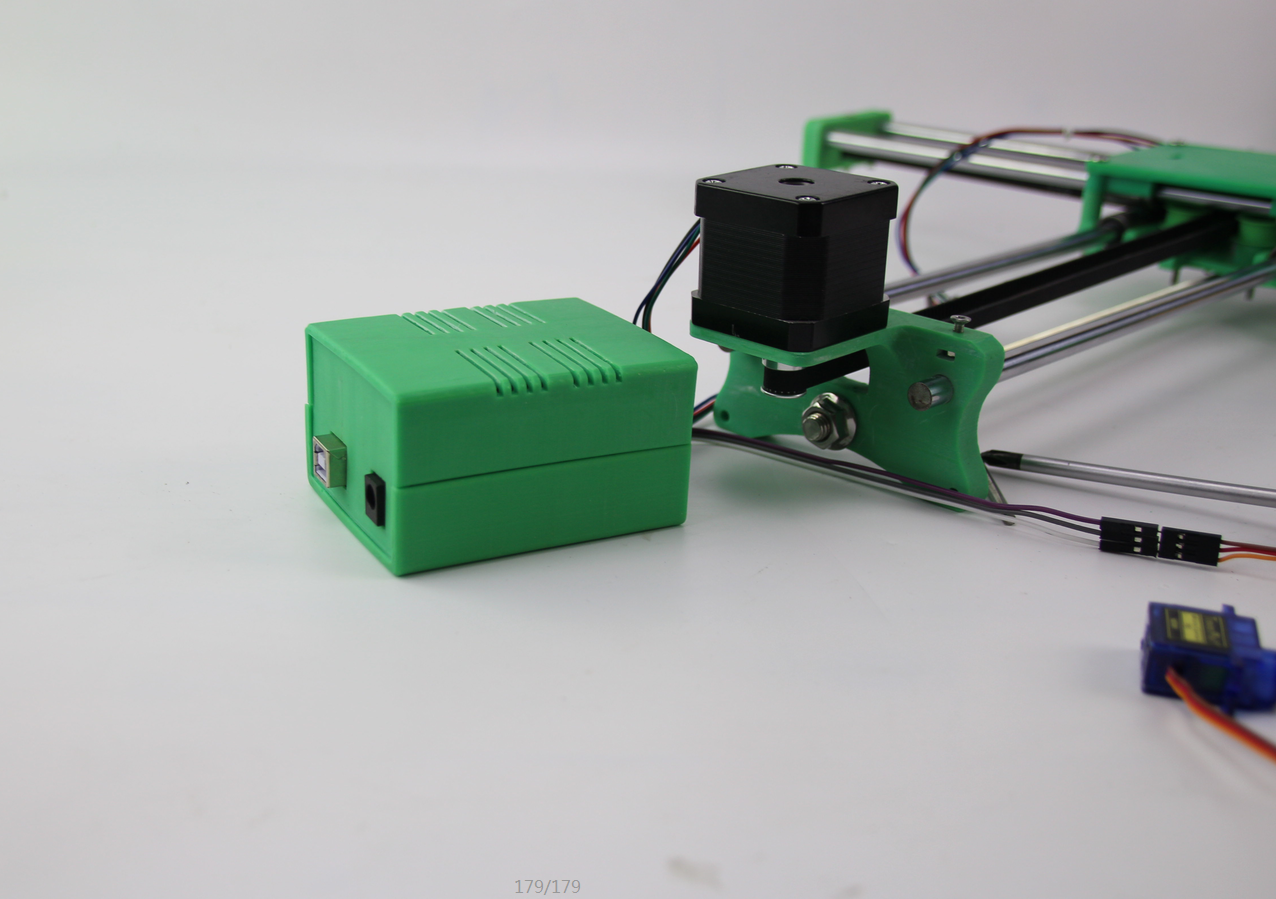
And then connect and complete the electric circuit.
- Operating procedures
Now that we’ve finished assembly, we also need two pieces of software.
1 Arduino IDE
We need to program the circuit board by using the Arduino IDE.
2 Inkscape
Inkscape is an open source vector graphics editing software. We can create new graphics in it or edit imported graphics and pictures.
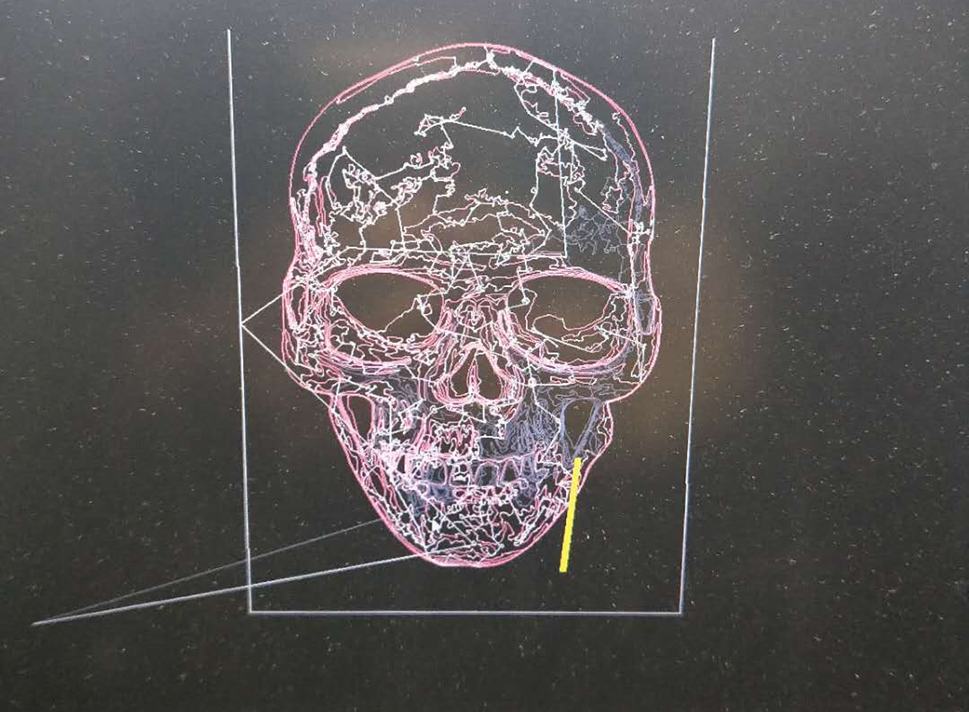
Prepping the draft:
Give it a test run!
That’s all!
Create your own happiness by making your own UNIZ—MAX
